PLEASE DONATE. I recently had 2 surgeries, do not have health insurance and live on Social Security. I will be delighted to share with you if you will appreciate how much time and knowledge this takes. Thank you. LindaCheck out my other blog http://teacupmilliner.blogspot.com/ You can make your tea pot cozy to match your kitchen theme. Once you have tried it, you will find yourself making covers for all your appliances to keep the dust off. This is one of those projects that I have put off for a long time, but today I decided it was time to make a tea pot cozy. Being born and raised in England, drinking hot tea has always been my ritual, summer or winter. Although Kim, my daughter does drink hot tea at times, it's always during winter. These days my tea drinking is green tea, but I still drink it with milk and sugar, the way I drank tea as a child.
You can reverse colors to get the effect you are looking for. Here I made a tray mat to match my cozy. Look further down and I will explain how.
My love of tea pots, and tea sets stems from my child hood and visits to England over the past forty years and when I became a milliner The Tea Cup Milliner was the most logical name that explains who I am in my deepest roots. I hope you will enjoy this tutorial.
All tea pots are not created equal.That is why it is better to make your own custom tea pot cozy's. The tutorial will be written for the large white tea pot.
Measure the height of your pot. This one measured five and 1/2" high.
Measure the width from the tip of the spout to the outside edge of the handle. This measured around 10".
I decided to make a mock up tea pot cover using tracing fabric and pinning both sides together. The first one was too tight around the girth because this teapot is fairly fat. I added a bit more and this time got it right. I can't determine the size for you because your pot may be entirely different, but I made mine six and 1/2" tall and 13" wide in the end. The width determined how well it sat on the pot and was easy to remove the cover. I included 1/4" seam allowance.
Ignore the 8" because first time I got the cozy too tall so I dropped it back one and 1/2" on the height. You have to round off the corners so this worked well. I marked 2" from the top and three and 1/2" from the side and drew a line. I cut it off and it looked right to me.
The theme of our kitchen is chefs and they are all dressed in black, white and red. I decided to use these colors for this tea pot and sketched out a tea pot shape. I had the black and white checked fabric ready to make some things for the kitchen, so all I needed was plain red and black cotton fabrics, which I also had. Here's the graph when I finished sketching the tea pot.
I used a china tea bag holder in the shape of a tea pot as my guide, the when I liked it I made it larger. It took awhile to get it right on paper and then I made it on cardstock for easy drawing around.
I took a piece of black cotton fabric larger than my pot and cut a piece of Ultra hold Heat n Bond and heat set it on the fabric. Then I drew around my template and cut it out. I keep all cut offs in a Ziploc bag to die cut words or smaller items later.
See this blog if you don't know what ultra Heat n Bond is.
I heat set the pot on one half of my already cut out cozy.
For the loop to pick up the cozy, I cut a piece of cotton one and 1/2" by 5" and then I folded it in half and leaving a 1/4" seam allowance I made the loop and turned it right side out. Press well and make sure the seam is in the back center.
Put the loop inwards towards the pot like this then machine tack in place. Pin the other side of the cozy to this one right sides together and sew 1/4" seam around top and sides. Turn right side out.
Lining.
Cut two pieces of cozy pattern in cotton and two in thermal polyester. This is available at all fabric stores. Sew a thermal piece to each side of the cotton pieces close to the edge as shown.
With right sides together, sew sides and top and leave a 1/2" seam allowance.
With top cozy right side out, and lining wrong side out (thermal side) slip lining up inside the outer cozy and sew or serge around bottom edge.
You can turn up the bottom edges together and sew or if you want a more designer look sew bias tape all around the bottom edge. I wanted more red showing to go with our Chef theme and I trimmed the bottom with red bias tape. Cozy done!
Once you have made your first cozy, you can make them any size to fit your pot. Most women love tea pots and to give a pot with a hand made cozy is a lovely gift.
My tea for one cozy.
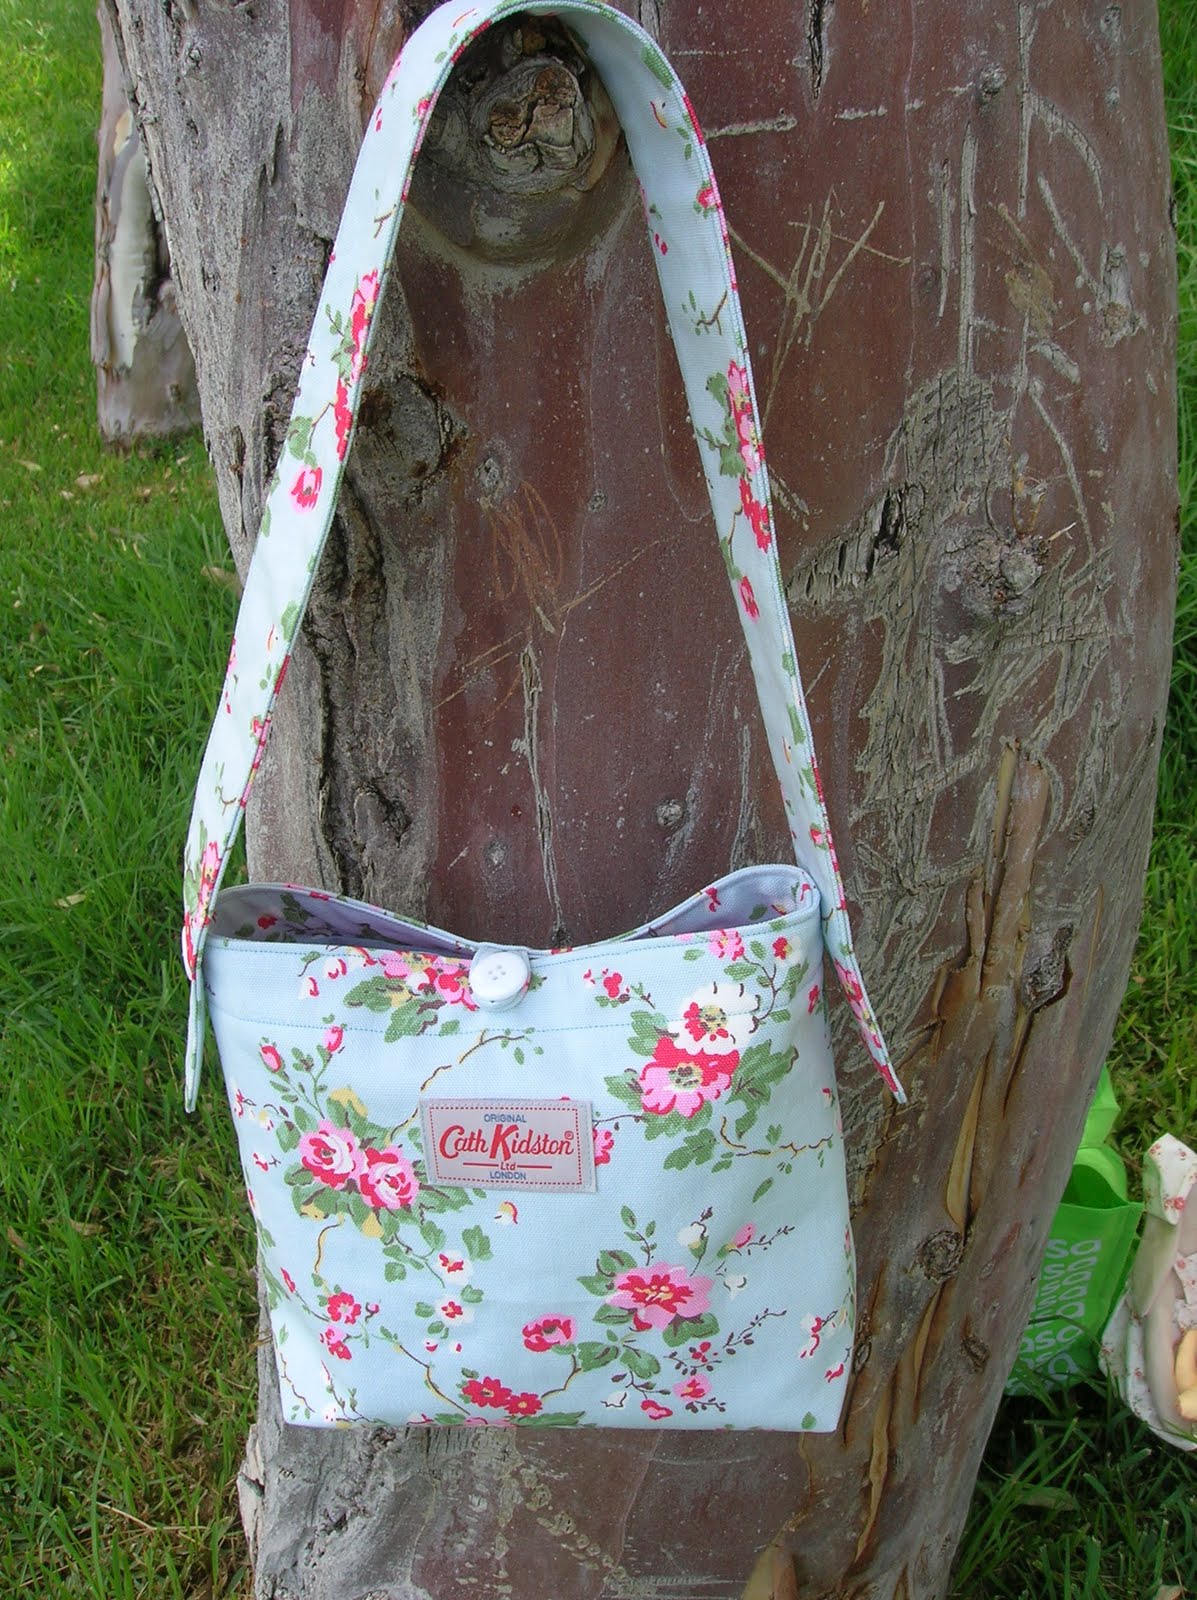
Kim bought this lovely rose designed tea for one pot and cup while I was in the hospital recovering from surgery and I wanted a feminine and dainty look for this cozy.
I took the first mistake cozy pattern I made for the white teapot and made it smaller for this one. After making the first one I had more of an idea of what size to make it, so I got it right on the first try. It is four and 1/2" high and 10" wide.
I took the pattern for the first teapot cozy and it was much too big for this one.
I could have scanned in the pattern and reduced it but there is still a lot of playing and printing out, so I drew inside the lines as I thought it didn't need to be a lot smaller.
I cut it out and tried it again and I could have made it work but I still thought it needed to be a bit smaller. I drew around this size on cardstock and then went to work again.
Just like baby bear said this one looked just right, except the handle looked too long, so I cut off the handle in the center and taped it back on again when it looked right.
This was exactly what I wanted so I drew around it on cardstock once again.
I now had three sizes to do whatever I want later. It didn't take long to do this and it was well worth it.
I settled on a pale green cotton for the background and made my tea pot out of a light cream color with roses. I made sure one rose took center stage.
I wanted the cozy to have a bright spark and decided to use some bright pink piping all around the edge that I already had. I had matching bias tape as well so made the top loop from tape.
The inside is pale green lining and the bright pink bias tape really sets off the lower edge. It still has that feminine look I wanted, but it is also a bold cozy.
Make a matching thermal stand.
I decided that I wanted a matching stand for my white tea pot so that the heat would last longer under the pot. Here's how to make one.
I used a 10" cake board (bottom right) to cut my circle. One top fabric, one bottom and one thermal.
I stitched the under fabric to the thermal around the edge and heat set the tea pot on the top fabric.
I heat set 'hot tea' on the pot, then threaded the machine with black thread and bobbin with red. I stitched close to the pot all around it.
On the underside you can see the shape.
I added a loop at the top and black bias tape all around. The loop is so that the pot stand can hang up with the cozy when not in use.
Matching thermal pot stand and thermal cozy. My tea should stay hot from now on and they will look really nice on my table.
A matching tray cover for my tea for one pot.
As you can see in this photo a normal placemat will not fit a tray. It is too wide one way and too short the other. If you want to learn how to make place mats, visit this blog and you will be amazed at how simple it is.
I measured my tray both directions and cut my pattern one inch smaller both ways. This would allow the bias trim on it and it will not hit the sides. Then I cut out my pattern out of tracing fabric. You can use paper if you wish.
Why round the corners? Because when you use bias tape it is a lot simpler to sew around curves and make it look right. You have one start and stop point.
I rounded off one corner with a pencil as shown.
After cutting the first corner, I folded my pattern to match it to the other three and then cut them.
It is now the shape I want.Making it is the same way as the cozy and the pot stand. This time I reversed colors and made the tea pot green against the rose back ground. I added the rose on the tea pot for a designer look.
Of course I high lighted the edge with bright pink bias tape.
All I have to do now is fill the pot with tea and sit down to enjoy it.