Sunday, July 4, 2010

Back to School Removable Fabric Book Cover-Sew

PLEASE DONATE. I recently had 2 surgeries, do not have health insurance and live on Social Security. I will be delighted to share with you if you will appreciate how much time and knowledge this takes. Thank you. Linda
Check out my other blog http://teacupmilliner.blogspot.com/
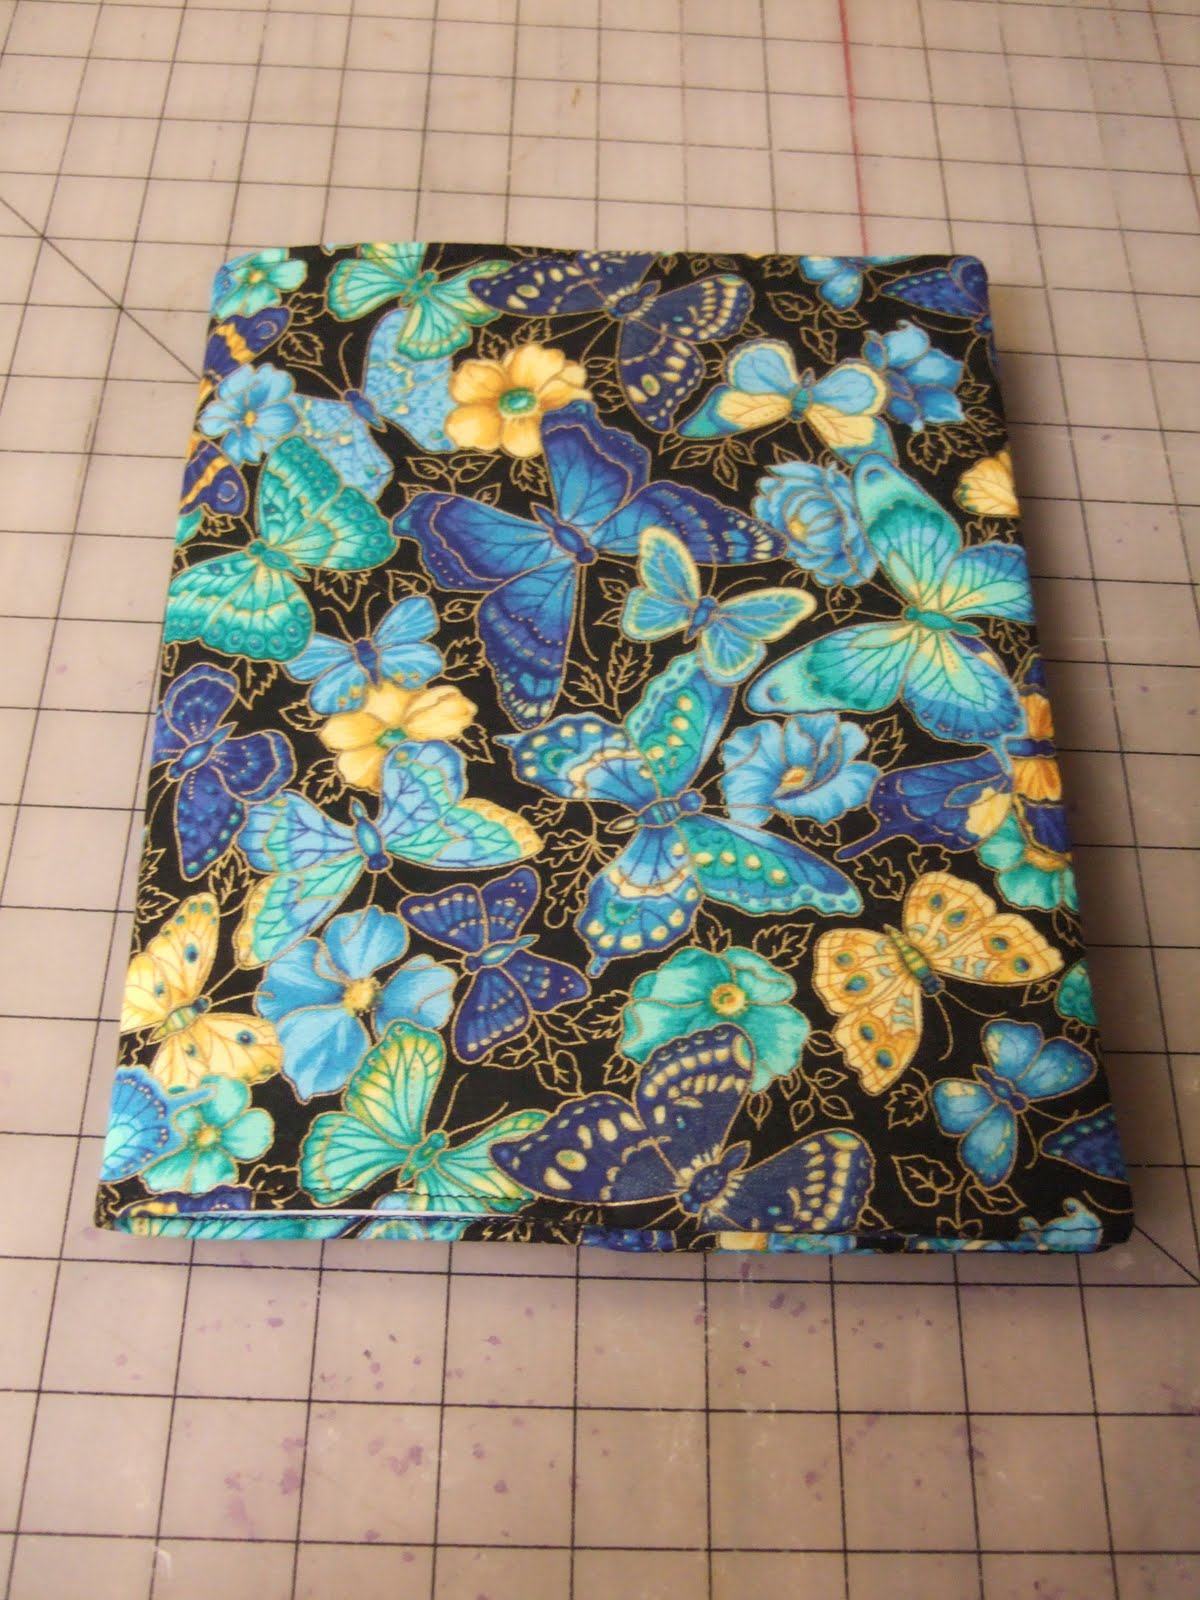
Although my basic  book cover tutorial will be on a school composition book, I want you to understand that this method can be used on any book or photo album of any size.  There will be photos and notes on other book covers at the bottom of this blog.

After you have made the first one, you can get creative.  See how to make these fashion templates on this link.  http://linda-allfreepatterns.blogspot.com/2010/07/fashion-plates-no-sew-project-runway.html

Things you will need.  To make your patterns you will need some paper and because most books take larger size paper, you can buy newsprint on rolls or banner paper on a roll.  You can see mine in the photo background which is 3' wide and 100' long and cost $9.99 a roll.  I bought mine at Hobby Lobby at the end of summer one year 90% off so paid one dollar.  It pays to watch out for clearance deals even if you don't use them right away.
You will also need some thin quilt batting and several types are available.  I am using a soft natural batting sold by the yard for quilts. Plus you will need some heavy duty fusible interfacing such as craft bond by Pellon and the fabric of your choice. 
Sewing machine.  Usually I use a serger (over locker) to sew my raw edges, but for the benefit of those who don't have one, this composition book tutorial will be done with a sewing machine with Zigzag stitch capabilities.

Now to make your pattern.

Leave enough space on the left hand side to draw the other side of the book, spine and ease.  You will understand once you read through these instructions first.

Draw around the book first and then measure the spine.  This book isn't very thick and is only 3/8" so I need to leave a space 3/8" plus add 1/4" for give.  I will explain the give later.  So now I am leaving 5/8" in the center.

Flip the book over, leaving the spine area empty and draw around the book again.

Draw 1/2" around the entire outside lines.

Now the inside pouch pocket.  This book is 7 1/2" wide when closed so make the pattern around 1/2 of that size.  I decided to make it 4  1/2" because I need 1/2" on the outside and 1/2" on the inside to turn under the raw edge.  Keep reading you will understand.

Now you have your book cover pattern.  It's as simple as that!

Now to make a cover.
A special note.  I tested this theory and found that out of a fat quarter, you can cover a book this size and make the pocket inside.  Fat Quarters sell at many places for $1.

I am going to use a nice quality 100% cotton fabric for this tutorial but you can use any fabric from satin to denim.  Style is all about what you like.

Pin the patterns pieces onto the fabric.

Cut out the 3 pieces you need, 1 main piece and 2 inside pouch pockets.

Cut out the main piece ONLY in batting fabric.

Cut two pieces in craft bond from your inside pouch pattern and fuse them onto the back side of the fabric pouch pieces.  You don't need craft bond on the main piece because you are lining it with batting fabric.

Sewing machine users only.  Set your sewing machine with a longer stitch as if you are going to draw up gathers.  Pin and sew all around the batting and fabric together.  This will stop movement.  If you own an overlocker, this is unnecessary.

Turn under 1/2" on one side only of each pouch pocket piece.

Pin main and pocket pieces as shown above, right sides together and turned under pocket edges on the inside.

Overlocker users.  Sew 1/4" in all around the edges and ignore the next set of instructions.

For sewing machines only.  Set your machine for a long gather stitch and sew 1/4" in, all around the edges.  Then set your machine for Zigzag and sew around edges again.

Turn right sides out and pin 1/4" under the area between the pockets, both top and bottom and sew this area only to finish.

Slip both front and back covers of your book into the pockets.  It should fit with ease if you followed these directions carefully.

You can also add a pocket to put a special note inside when you give a covered book as a gift.  Follow the instructions below.

You can make a paper pattern if you wish.  Cut two pieces of fabric 4" wide by 5" tall.

Sew around 1/4" in, leaving an opening .  I placed two pins to show you how much of an opening I left.  Trim off corners.  Turn right side out and top stitch all around including over opening.

Pin pocket on the right side of one of the pouch pocket sides, staying closer to the turned down edge rather than the raw edge.

Now pin the pouch pockets on the main piece with the pocket side on the left as shown.  I darkened the stitch outline to show you what I mean.  Now finish as before.

Now cover any book and express yourself. Here are a few more notes.

This is a small journal with a thicker spine.  I laid the book on the paper the same way as before but the spine was 1 1/4" thick, so I added 1/4" and left 1 1/2" in the center.  Everything else is the same as the composition book.  It's very simple.

I covered the small journal in a plain purple fabric and then dies cut a butterfly, flowers and leaves in pink and lavender satin.  Then I added glitter for a more 3D effect.

I bought a garden journal which would have made a nice gift.  Making a special cover for it made it a special gift.  I had bought a small remnant of cotton fabric with lady bugs and thought it was perfect for a garden theme.  I heat set a strip of wide black ribbon first, then added the words seeds in red that I die cut out in fabric.  I thought the word seeds was perfect as this would be a great journal to glue a seed packet on a page and write how well they grew and add a photo of them growing in the person's garden.

I added a pocket in red inside and used a heat set paper and cut out one of the ladybugs.  I penciled in the antennae.

For graphs, glues and stuff I use, check out this blog.


Fashion Plates-No Sew-Project Runway

PLEASE DONATE. I recently had 2 surgeries, do not have health insurance and live on Social Security. I will be delighted to share with you if you will appreciate how much time and knowledge this takes. Thank you. Linda
Check out my other blog http://teacupmilliner.blogspot.com/

Time for Project Runway
These miniature fashions are under 6" tall and will attach on your books or anything else.  Get ready for back to school or college and have a good time.  All it takes is cardstock, glue, scraps of fabrics and trims.  You will be the designer.

The words Haute Couture mean High Sewing in French.
Learn to make a removable fabric cover that fits any book, including books for school. 
Follow this link.

Just about everyone in this country has watched Project Runway and young girls and women particularly like the idea of designing their own fashions.  However, you have to have good sewing knowledge, machines and help to learn how to make the real thing.  This project however is easy to do, although takes a lot of patience.  If you have teenage girls who love crafts and decorating their things, then this project will be right up their alley.

Start simple.  All you need is cardstock and paper to make the basic fashion plates.

How to make the patterns

The grid method.  Years ago any craft book you bought had small patterns drawn on grids.  I wasn't into experimenting in those days due to lack of confidence, but I learned how to make patterns from books using this method.  This is how you will draw your basic fashion plate patterns.
IF YOU CAN'T MAKE THE TEMPLATE PATTERNS, PAY $3 WHICH INCLUDES POSTAGE IN THE U.S. AND I WILL SEND THEM TO YOU.  EMAIL ME lj@tuscanadesign.com  Check with me about postage if you are in another country.

You need an 8 1/2" by 11" piece of cardstock.  You have to draw one inch lines both directions but the easiest way if you have one, is to lay it on a grid cutting mat and draw across both directions.

Follow the grid carefully and draw out HALF of the pattern only.  Draw a line down the center.  You can see I cut the bottoms before folding, this helped me line up the fold easily.

Cut out the half of the gown before folding and drawing the line of the second half around the folded piece.  Now it will be symmetrical .

Cut them out completely and keep these templates to use over again.  Store all your pattern pieces in a Ziploc bag so you don't lose any.

Now the gowns.
Next make your fabric patterns.  On a sheet of paper, draw around both templates leaving space in the center.  You can see how I began marking 1/2" away from the main line.  That is because you will need extra fabric to turn over the side of your cardstock template.

Cut them out like this.  These will be your main fabric pattern pieces.

Before you start designing, cut out several cardstock templates in both styles.  Now you are ready to cover them.

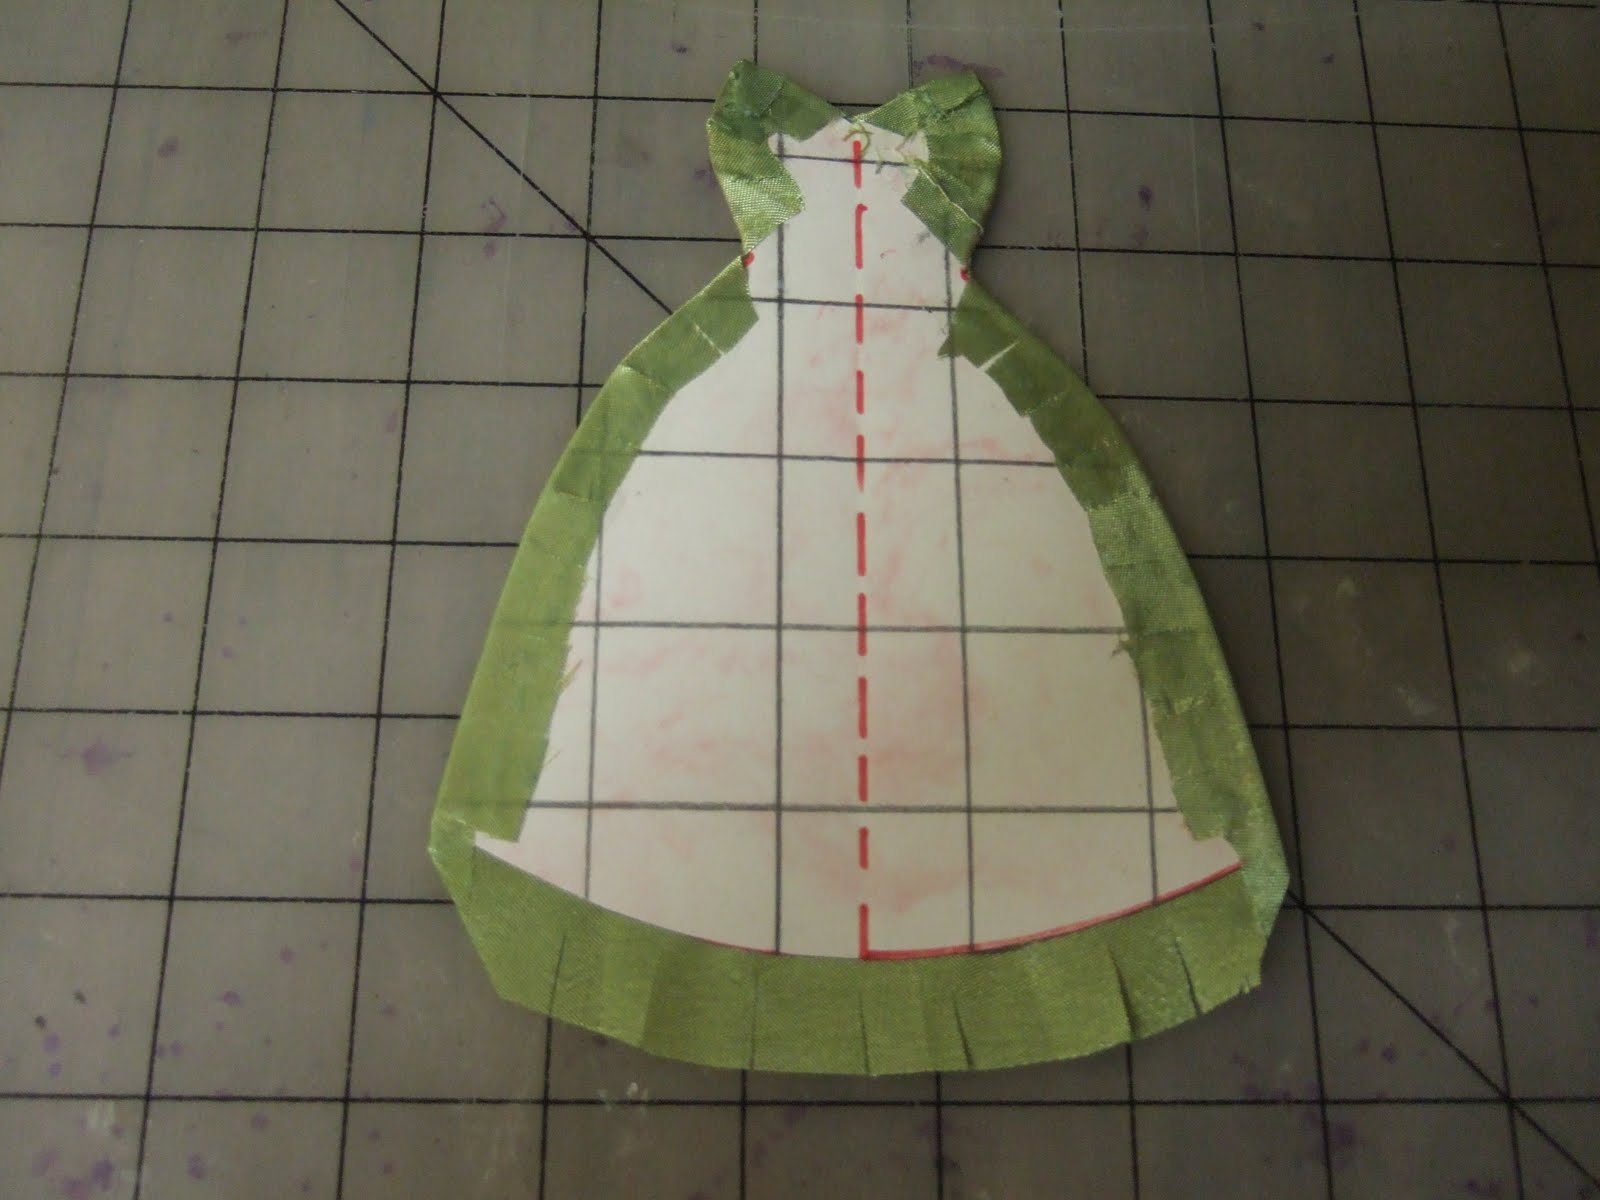
Choose whatever fabric you can find.  This is one I loved and bought it on clearance.  It is a light green taffeta with a sheen that has embroidery.  I lined up the dress pattern so that the embroidery would sit in the center.

GLUE.  You can't do this with ordinary school glue as it won't hold and take too long to dry.  You need a fast grab glue.  I did use Aleene's fast grab tacky glue on my hats (check out my millinery blog, link at top) until Wal-Mart stopped carrying it and it was more expensive everywhere else.  Then at Hobby Lobby I found Elmer's craft bond tacky glue, twice the size of Aleene's for only $2.77.  I also used a 40% off coupon I printed off their site.  What a deal and it works great!

You are working around curves and need to make slits all around to fold the extra fabric over the edge of the cardstock template.  DO NOT SLIT ALL THE WAY TO THE EDGE OF THE CARDSTOCK AS THIS WILL MAKE LITTLE FRAYS AGAINST THE SIDE OF THE DRESS WHEN YOU TURN IT OVER EDGES. 

Here you can see it finished.  Let it dry upside down which won't take long.

YOU ARE NOW THE DESIGNER.

I used silver sequin trim which is very inexpensive and you can buy it by the yard.  I glued it around the waist, then made shoulder straps.  I then plucked off individual sequins and glued them randomly.

This time I covered the template with lavender satin, then used two different widths of lavender lace.  You can use up lots of scraps making these gowns.

Sequins by the yard is all this one took.  Try experimenting with design by placing them in loops.

This wedding gown I made by covering with white satin, then added an overlay of white lace.  See photo below.  Then I glued some flat back pearls for design.  You can also use small pearls with holes and sew them on.  See how I left the lace hanging over the bottom for more visual effect.  Ribbon loops made the straps.

Here you can see the type of lace I used.  My sister Norma in England sent me a parcel of fabrics, trims and lace and this was one of them.

I kept this dress strapless and first covered the template in gold satin.  Then I took sequins by the yard and added them in rows on the skirt.  I also added them on the hem and the top of the bodice.

I saved this one for last because you now need to make 2 more pattern pieces.  By doing so the gown will become 3D.  See how below.  You will be required to do a small amount of hand sewing for this project.  If you can't sew, find an adult who can and has patience to teach you.  This is very basic and easy.

Use the same cardstock template and draw around the top on paper with the extra fabric line included.  Then extend the bodice waistline about 3/4" as shown.

Draw around the skirt template, then flare out the sides towards the top when you add the extra fabric line.  Also include extra at the waistline to turn under the raw edge.

First cut the skirt out without bodice top but leave extra fabric at the waistline to turn under the raw edge.  Glue it onto the cardstock frame.  Underskirt will be flat as before.
NOTE.  Most of my fabrics are creased and need ironing before using.  If you don't have an iron, you can buy a mini iron (available in craft shops where they sell things for decorating clothes.)  You'll also need a small ironing board which are available in  Wal-Mart and fabric shops.  Make a Christmas wish list to hand to your parents if you enjoy doing this.

Next, hand sew down the center of the bodice, draw up and close off the thread so that it will stay.

Turn the bodice under and attach as before, moving the gathers upwards for the look of a bust line.

Turn down the top of the overskirt and make a pleat in the center.  Glue down and let dry.  Then you can turn it over and turn the sides in as before.

Now you've tried your hand at making gowns, make some other templates for clothing.  This gown needed a hat, so I made one.  Work on half a pattern as I have shown you and in the same scale.  The templates will guide you on where the waistline is, length of leg and upper torso.  Now you can design anything you like.

If you love this project, try your hand at shoes.  Here's the link.

A word to teenagers and parents.

This project should be fine for age 12 years and older.  Parents.  If your teenager is keen, help them by asking crafty friends, crafty work mates and family for scrap fabrics and trims.  It takes very little for each gown but it helps if you have an assortment.  They can even recycle old clothes such as ugly prom dresses.  Another suggestion. Get a group of your friends together and have a fashion slumber party.

For graphs, glues and stuff I use, check out this blog.