Sunday, June 27, 2010

Wine Bottle Covers-Sew

PLEASE DONATE.  I recently had 2 surgeries, do not have health insurance and live on Social Security.  I will be delighted to share with you if you will appreciate how much time and knowledge this takes.  Thank you.  Linda 

Check out my other blog.  http://teacupmilliner.blogspot.com/
Take a great gift for the party host and make lovely covered for your bottle gift.
There are two styles for you to make, a drawstring cover where the bottle is completely covered and an open neck bag for the bottle to nestle in.

How to make the drawstring wine bottle cover.

Use an elegant brocade fabric to make this gift and your lady host will be sure to love it.

How to make the cover.

Most wine bottle bottoms are 3 to 3 1/4" inches across.  You will need something round that is 3 1/4" across and I used a ribbon reel.

Draw around the circle onto some tracing fabric and leave 5/8" all around for allowance.

When you lay a tape measure around the circle leaving 1/4" from the edge, it will measure 12"  Now you can work out your pattern piece.

I measured the height of the bottle and allowed leeway for seams and give.  When you sew in any circle, you must allow some give or the top piece will be too tight and not fit.  I have 12" plus allowance and came up with 13 1/4" wide.  I measured how tall the bottle was to decide how the cover would fit.  I made my pattern 14 1/2" tall.  I then added a casing 1 1/2" from top and drew a line.

For casing, lay bias tape under the 1 1/2" line and pin, then sew.

Measure 3/4" in both sides on top of casing area.  Make a small slit on the top of the fabric to thread ribbon through but don't go through the bias tape.  To stop fraying, add a dob of fray check over each slot.

In a contrast color cut a piece the same measurement as the top and 2" wide.  You can make a pattern piece from tracing fabric if you wish.

Pin right sides together and sew 1/4" in.

Sew side seam 1/4" in and Zigzag the raw edge.

Pin and sew circle onto bottom and Zigzag edges.

Turn down contrast top and pin, then move pins onto right side to sew.  This way you can see how straight you are sewing on top of contrast fabric.  Sew another line close to the edge to form a nice neat top stitch.

Thread 1/4" ribbon through the slots on the outside and add wine charms or beads on the ends.

Draw up and tie a bow.

You can also make this bottle cover in lace for a lovely see through gift.

How to make the open neck bottle cover.

Make your pattern the same width as the drawstring bag 13 1/4".  Make the height 10" tall.

This is the facing.  Make the pattern 13 1/4" by 7".

Some of the beautiful oriental fabrics are difficult to match , so I used the reverse of the same fabric for the open neck collar.  I have done this before when making garments and hats and you can see this on my other blog.

Fold your main piece in half lengthways wrong side out and stitch 1/4" in. 
Zigzag raw edge.

Iron on some heavy duty interfacing on the inside of the facing.  I am reversing this fabric for this piece so I ironed it on the right side.

Turn under 1/4" on one of the long edges and sew.

Fold facing piece in half with turned up edge downwards against the top of the main piece.  Place a pin to match where the stitching of the main piece began.  Stitch 1/4" in on this short area.
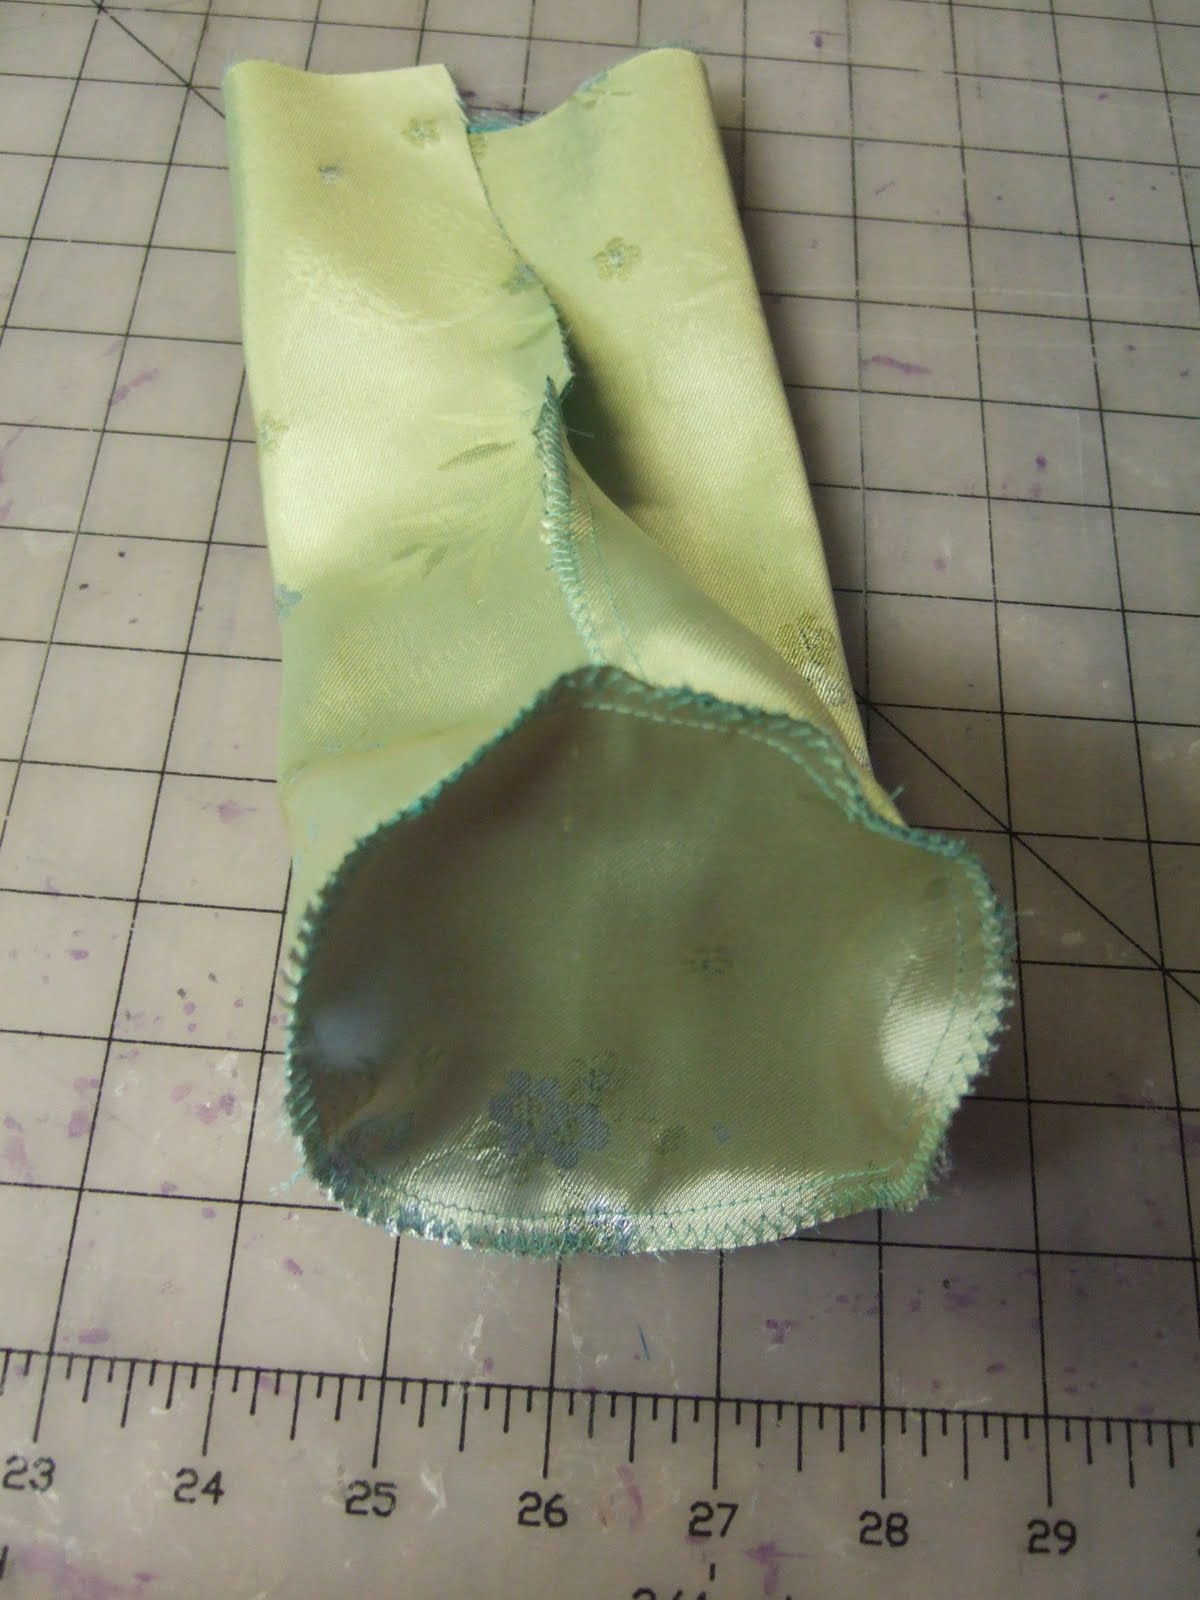
 
Cut out and sew bottom circle from drawstring bag on the bottom of the main piece and Zigzag around the raw edge.

Pin facing to main body piece right sides together, going down the sides as well as the top.
Sew 1/4" in and turn.

Neatly top stitch around all the facing and fold down as if it is a collar.

This fabric has great medallions in the print so I used iron on fusing with the same scrap fabric behind, then cut it out.  Fray check around the edge.

I sewed the medallion on the front so that it slightly overlapped the collar and added a PARTY charm at the bottom.

A few years ago I had fun decorating different shaped liquor, beer and soda bottles with clothes.  The following photos show you what I did.  Once you feel brave, have a go.

Fiesta time.  I used chili pepper cotton fabric for these.  Just add a hat.

Although I am not a drinker, I loved the shape of these Tequila bottles.

I also decorated shorter beer bottles.

Soda Jerks.  This was a fun theme and I made little hats.

It doesn't have to be liquor.  These were old fashioned root beer bottles.

I live in Texas so I decorated a Texas beer bottle with a cotton print of horses.

For a more formal look I added a top hat.
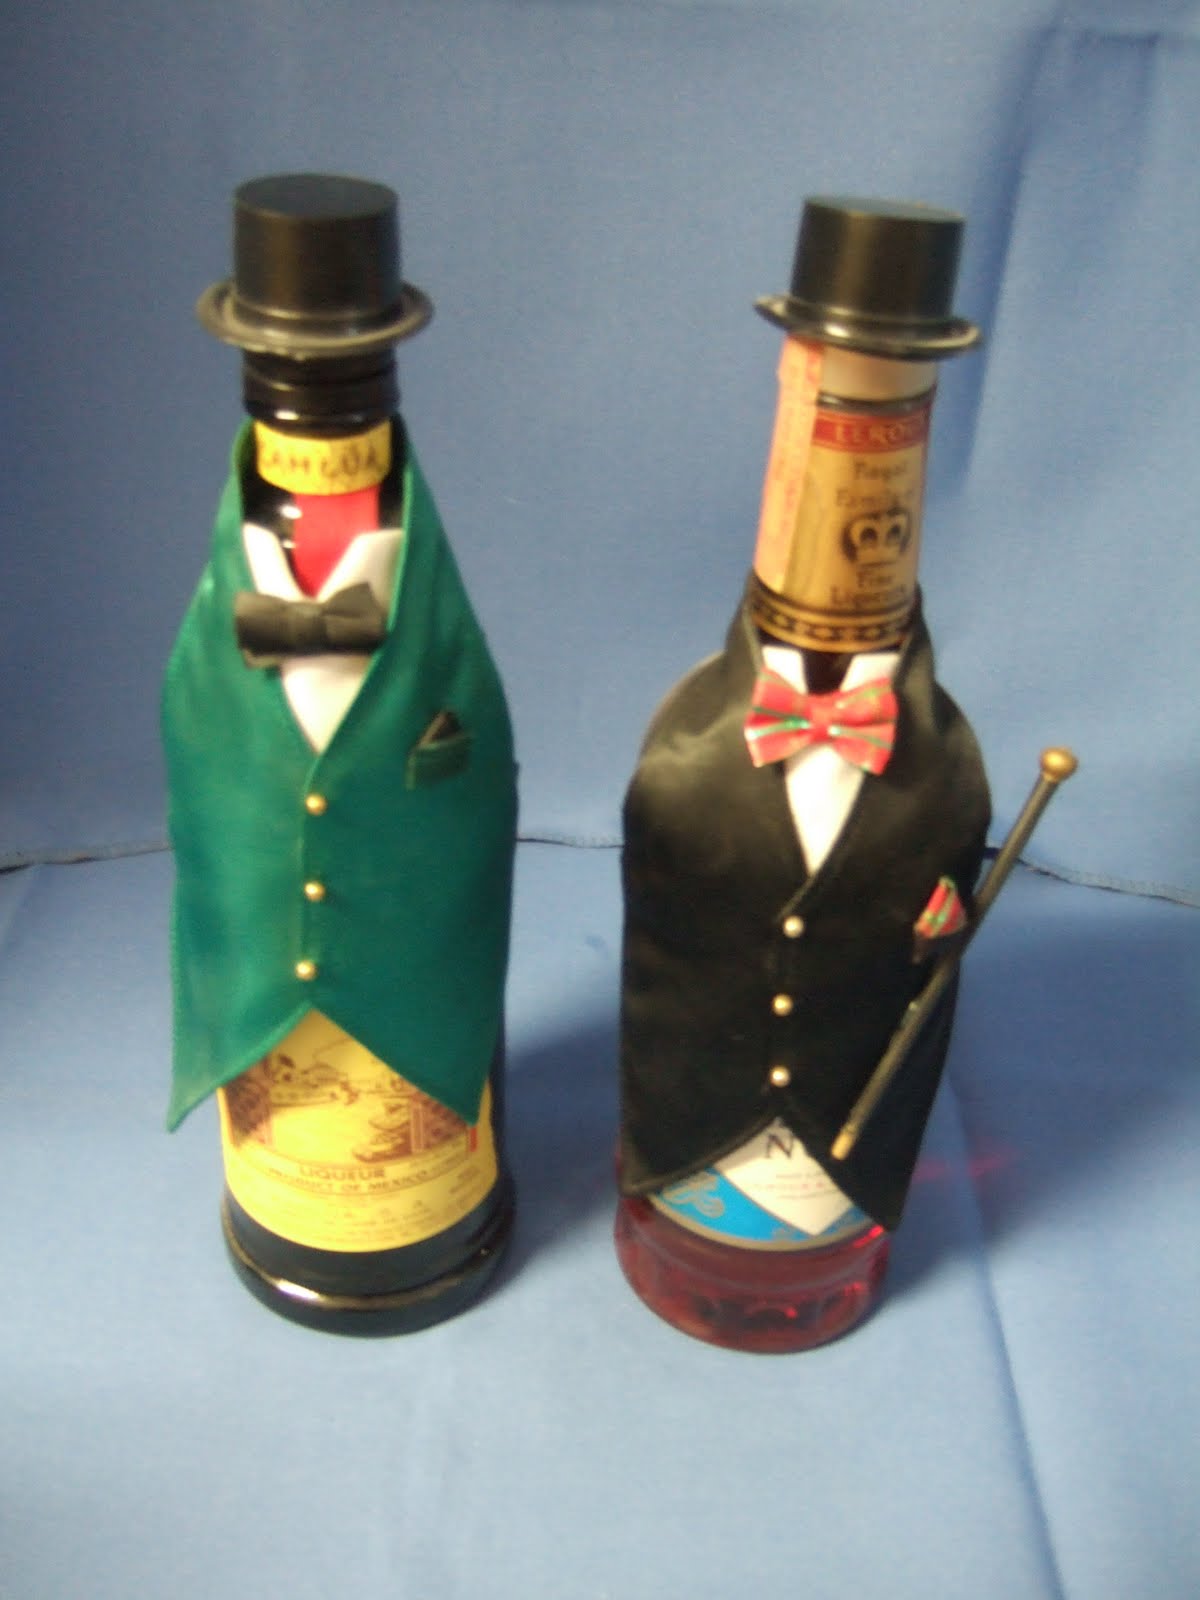
2 more formal looks.  Add a top hat and cane with tartan ribbon for bow tie and pocket handkerchief.

Dress up a bride and groom bottles for a wedding gift.

If you would like to purchase a copy of the vest pattern and instructions for $5, please email me at

For graphs, glues and stuff I use, check out this blog.


Saturday, June 26, 2010

Just made it!

Hi everyone,
Can it really be June already? I was beginning to think there wouldn't be a June post but I made it with a few days to spare.
Well, as usual there are a lot of pictures to share with you. Starting with something I made for a friend who came to stay a few weeks ago.
This is Poppy's Sewing Set by one of my favourite Australian designers Gail Pan


You may remember I've made this set before which you can see in this blog post

I used different fabrics this time. The raspberry pink fabric is Moda Aviary and I forget what the other one is.
Some hand quilting with DMC perle cotton on the sides


here's a close up of the pincushion and fob. I really love the shape of this pincushion and it's so easy to do


Next up is another Charm Party Tote which I've now made so many times I can make one without even looking at the instruction sheet!
Fabrics used here are Neptune by Tula Pink for Moda.


a view of the back


I made a matching zippered cosmetic purse using this pattern
which is very detailed for anyone suffering from zipperphobia!

I bet you thought I'd never get to the cross stitch well, here it is even though it IS hidden in another bag :)
I stitched this LHN design a couple of years ago and never quite knew what I was going to do with it. It is somewhere on the early pages of my blog but here it is again finished into a roomy tote bag.


Fabrics are Buggy Barn. I just love those pink and chocolate colours which I thought perfect for this design.
I ordered some bling to hang of this bag but don't have it yet so will maybe show that next time.

This next bag is something I threw together for my quilt group fundraiser which is to be held later this year.


These are not really my colours but I was using what I had in my stash.
The pattern is a tutorial on a French blog which you can find here


Now to show you a beautiful surprise gift which I received from Valie who knows I love all things French.
I couldn't wait to get into the prettily wrapped package


and I was just thrilled to see what was inside


How adorable is this small canvas bag which Valie told me was for the beach.
The beach? Perish the thought! I just couldn't bear the idea of all that sand in my lovely bag with its French flag ribbon handles. I think this bag is unique and I will be displaying it somewhere where I can look at and admire it every day.
I've taken the picture from Valie's blog where you can see many more of her lovely creations.

I must have been very, very good because that same week I received another lovely surprise this time from Roberta who sent some gorgeous fabric and the Snazzy Bag pattern by Lila Tuella as well as a book on bag making and a cute pair of scissors.


Thank you so much Roberta for such a wonderful surprise.


A couple of small cross stitch finishes now.
First is Shepherds Bush Antique Heart needle roll which I started years and years ago and never finished. I really enjoyed making it once I got down to it so am already working on another needle roll that I hope to show next time.


This little pinkeep is made from a Carol Tinson design. Carol is a UK designer whose company is called Heirloom Embroideries
This is something else I had started years and years ago and never finished.


Finally some crochet. My daughter is due to have her third child this very day BUT so far he shows no sign of wanting to put in an appearance.
I'm not the best at crochet but I wanted to make a little blanket for him so here it is.


The Pattern is Wee Irish Chain from a Leisure Arts book of baby afghans.


and now just for fun..............

Friend Sheila comes over maybe once a month or so and we stitch, sew and eat scones or cake made by me.
Friend Angela in UK always wishes she could be with us.
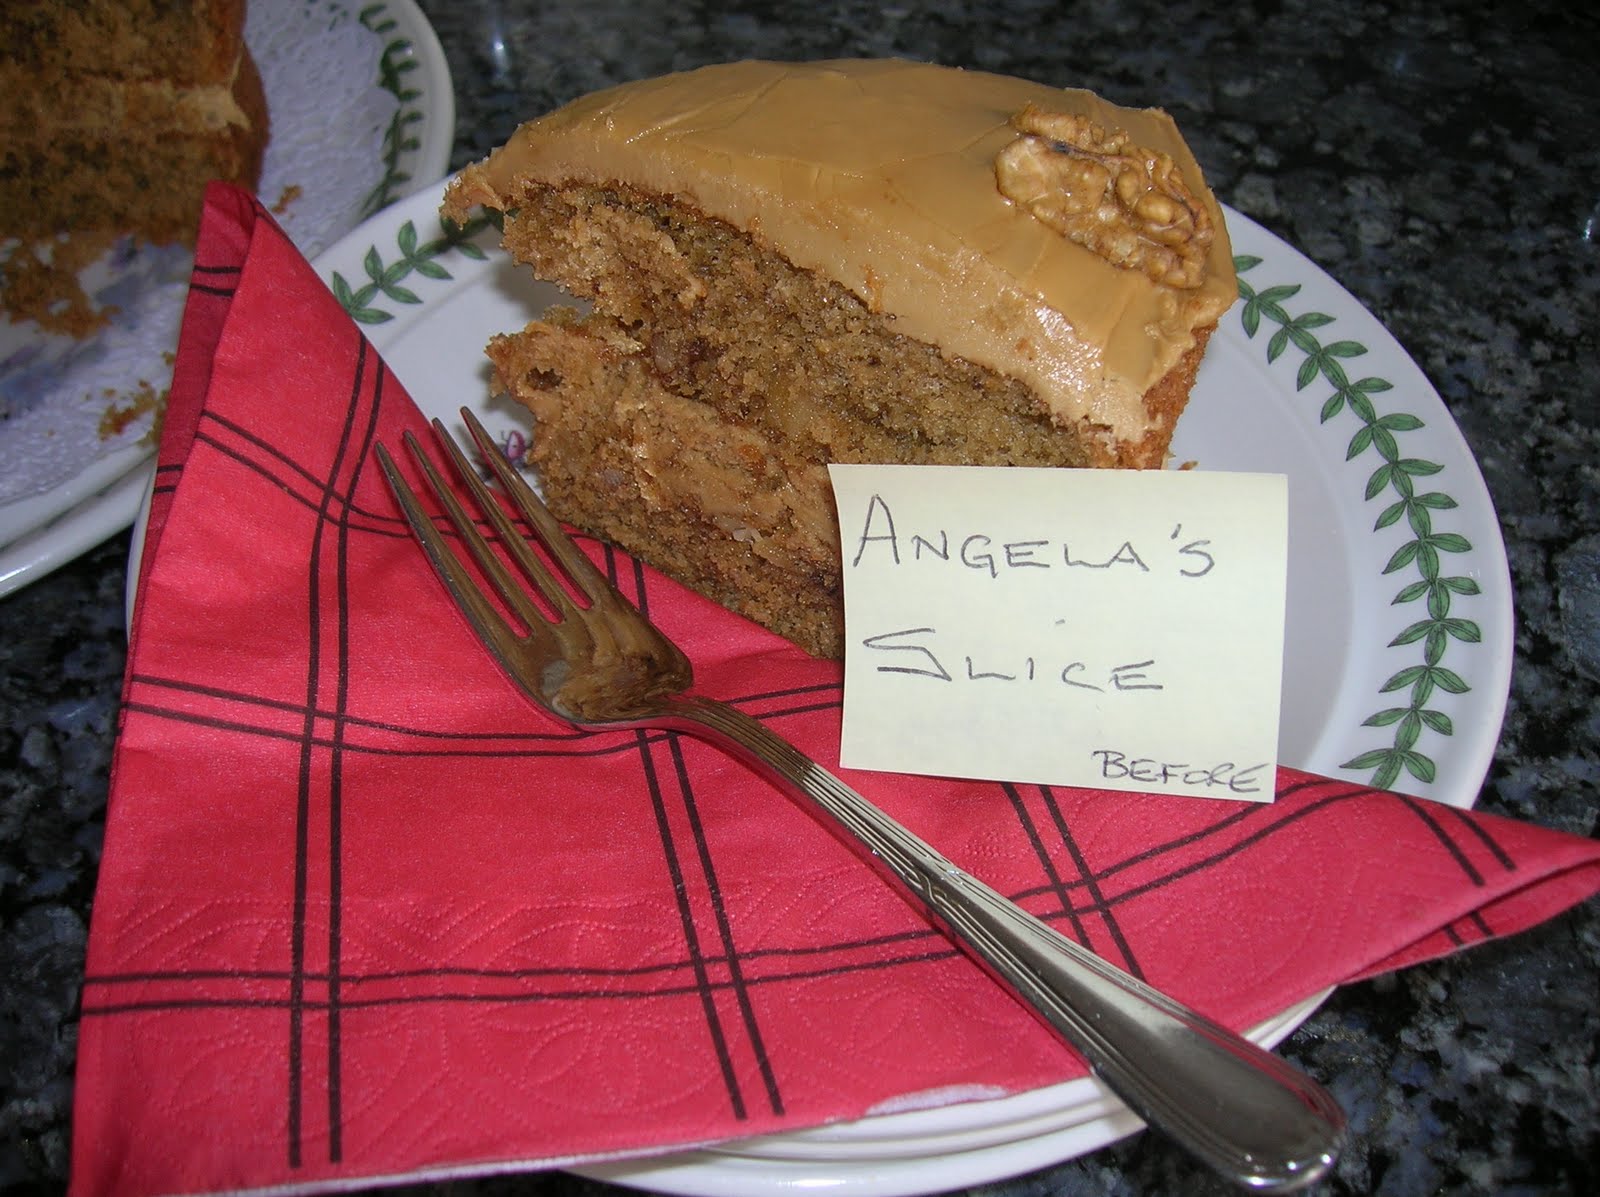
Last time Sheila came we had coffee and walnut cake which is Angela's all time favourite so Angela, these pictures are for you :)


Hmmm, looking at the picture of that cake has made me hungry!

Well that's all from me for now. I hope everyone who is in a part of the world where it is summer is enjoying the sunshine and longer days.
Thanks for taking the time to visit my blog.

Margaret

Friday, May 28, 2010

May post - late!


Hi everyone,

I wanted to do this post on 1st of May but better late than never as the saying goes.
Anyway,I seem to have a lot of finishes to share this time so on with the picture show.
Last time I showed you two different versions of a red sewing bag and now here are the front and side view of the blue multi coloured version I made from the same pattern.


The next bag is from a great tutorial I found on a French blog. Now I think I probably know about five or six words of the French language but with the aid of my trusty friend Google translator and a very excellent picture tutorial I got by.


The fabric I used is my old favourite Moda French General. I cut one of the large motifs from one of the fabrics and hand appliqued it to the front pocket

Here's a view of the side


This was a fun bag to make and a lot of the ladies at my quilt group want to have a go. Yes, you do have to put in a zipper but it was easy! If you'd like to make this bag you can find the tutorial here on this blog and the actual tutorial itself here
There are a lot of different tutorials for all kinds of things and lots of lovely pictures of all the things people have made so well worth a look round.

Now on to the reason I had wanted to publish this post on 1st May. I think the French custom of offering Lily of the Valley for luck quite charming. I had to look it up as I had no idea as to the reason and here's what I found
On May 1, 1561 King Charles IX of France received a lily of the valley as a lucky charm. He decided to offer a lily of the valley each year to the Ladies of the Court. At the beginning of the 20th Century it became the custom on the 1st of May to give someone a sprig of lily of the valley, a symbol of Springtime...

Well, as I didn't know anyone who was going to give me Lily of the Valley I decided to stitch my own. This is Jour de Bonheur by L'R de rien finished as a pinkeep


and backed with some pretty Tilda fabric


I enjoyed stitching that pinkeep so much I decided to do another one from the same designer.


this one is backed with some Rural Jardin fabric


I think they make a pretty twosome! I'm afraid their bows got a bit squashed in the photo shoot but they are OK now!


Next is a pillow I made using a free chart that I found here


Now as you can see part of the wording is missing on mine - don't ask! Just let's say I was a bit mean with the linen and paid the price. This pillow is what I managed to salvage from the wreck!


One of the books I received for Christmas was Sew Pretty Homestyle and I finally got round to making up one of the projects. Here's my first (but not my last) Tilda bear using reclaimed fabric from some old shirt that my friend found in a charity shop. They were going to send the shirt for reclycling but I think this bear is a much nicer way of doing things don't you?


which just goes to show it really is possible to make something out of nothing.


Finally just a couple of pictures for my friend Pat who told me the other day she was going to stitch in front of one of my palm tree pictures LOL.
Pat, these pictures taken today are for you!


As always a big thank you for visiting my blog. Your comments and friendship are much appreciated.

Margaret

Saturday, April 17, 2010

Bag Mania

Hi everyone,
I hope you like looking at bags as that is what seems to have been taking most of my time since my last post.

This is the Charm Party Tote - a pattern by Quilts Illustrated.


I've made this bag so many times already I can almost sew it without referring to the pattern! The fabric is Rouenneries by French General for Moda.


Still using the Rouenneries fabric (which I love very much) I made this little sewing bag and a matching pincushion.


I loved how this turned out so I made another one! I didn't have enough of the plain red fabric so the handles are slightly different and I changed the style of the pincushion to a four patch just for a change.


Here's a view of the back and sides


I also have the stitchery done for a multi coloured version of this sewing bag which I should be able to show next time.

Another bag! I wanted to finish my LHN Travelling Stitcher pieces into something so I made this little bag from a Moda Simplicity charm pack


It's lined with co-ordinating fabric and I added a couple of inside pockets


The needlecase


just needs a couple of thread rings


For my birthday last December Sheila bought me, among other things, a beautiful book called A Stitch in Time by Australian designer Rosalie Quinlan.
This door hanger is one of the projects I've made from the book


backing fabric is Miss Emma's Garden by Bunny Hill


I treated myself to Kath Kidston's book Sew for Christmas. A kit for the bag you see on the front cover is included with the book. Sheila spoiled me yet again with the matching scissor case and her sister Pamela bought me the cute little felt mouse pincushion. I'm looking forward to making the bag so will hopefully be showing that off soon.


Finally I had a lone stitchery block lying around so I turned it into a pincushion using Madeira fabric by Blackbird Designs for Moda.


Well, that's it for this time. I think I've burned myself out a bit on the sewing so my cross stitch will be taking over for a while once I get a few things that are already in the works finished.
Thanks so much for visiting!

Margaret